Neon Twin: How to deploy a change tested in Neon to prod in RDS
Use this migration workflow to test changes in a dev environment in Neon and push the changes to prod in RDS

Neon vs RDS: FAQ
In previous articles, we discussed the advantages of using Neon as a development database while keeping your production workloads on AWS RDS. We covered how to set up nightly dump/restore jobs using GitHub Actions to create a synchronized Neon Twin of your production database and how to implement Slack Webhooks for real-time notifications when the synchronization is complete.
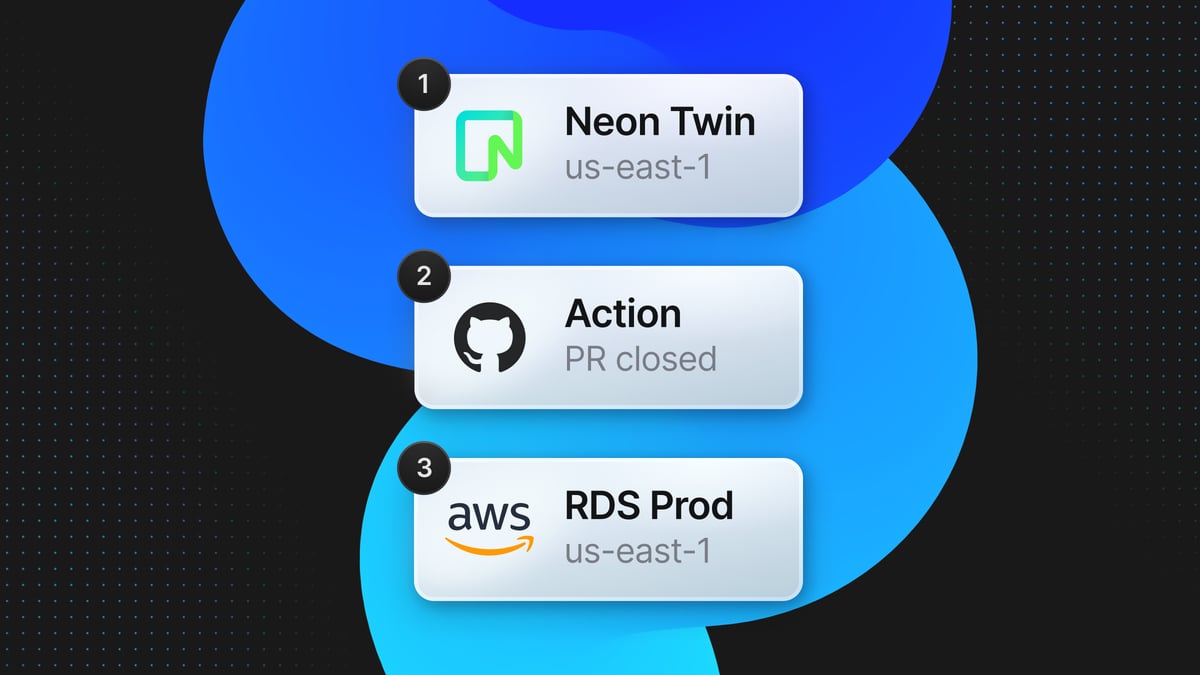
In this article, we’ll explore the reverse workflow: how to migrate changes from your Neon Twin (your development environment) back to your AWS RDS production database. We will automate this process through a GitHub Action that triggers when a pull request is merged.
We call this workflow the Reverse Twin, and it all starts with database branching.
Quick intro to database branching with Neon
In our previous articles, we built a Neon Twin synced with your production database in AWS RDS, so you could rely on Neon’s superior development experience for your dev and testing environments. Now, we’ll introduce you to database branching in Neon so you can take advantage of if in your development workflows.
Database branching in Neon works similarly to Git branching. It enables you to instantly create isolated copies of a particular dataset via copy-on-write, to build and test new features on a copy of production data without further dumping/restoring into new instances or paying extra for storage.
This is a great feature to boost development speed. By branching from your Neon Twin, you can safely experiment with changes without affecting the main development branch, where you’re loading prod data from RDS. In this section, we’ll guide you through creating and working with these branches, and we’ll set the stage for migrating your updates back to production.
Documenting changes in your dev branches in Neon
The first step to migrating (or applying) changes made to your Neon Twin to your production database is to record the changes that were made in your development branches (how they differ from main). Neon allows you to do this in a straightforward way via the schema diff feature.
Let’s set things up. From within the Neon console, navigate to Branches and click the Create branch button.
Give the new branch a name, select from which parent branch you’d like to form, and a point in time from when the branch should be created. When you’re ready, click Create new branch.
With a new branch created, you’ll be given a new Postgres connection string, which can be helpful when testing changes made to your branch from within an application.
To make schema changes on your branch, head over to the SQL Editor to make schema changes to your development branch.
Once you’ve made the relevant changes on your development branch, head back over to Branches and select your development branch.
On the next screen select Open schema diff to see the changes that have been made to your development branch and how they differ from the main branch.
On the Schema Diff page you’ll see the changes that have been made. In our case you can see that a new column named flag has been added with a data type of varying(255).
Now you’re documenting the changes that have been made to the development branch. You’re ready to proceed with migrating them back to your production database.
Tested in Neon to deployed in RDS: Two methodologies
When it comes to migrating changes from your Neon Twin back to your AWS RDS production database, there are a couple of efficient approaches you can adopt. Each method has its own strengths, depending on your specific workflow and preferences.
In the following sections, we’ll explore these two methodologies:
- Using SQL Files and psql. This “traditional” approach gives you full control over the migration process. By manually crafting .sql files, you can define the precise changes needed in your production database. These SQL scripts are then applied using psql.
- Using Prisma ORM. If you’re using Prisma, you have an alternative. Prisma’s migration tooling simplifies the management of database schemas, and you can use this to generate migration scripts based on the changes you’ve migrated (or applied) to your production database.
Method 1: Using psql with GitHub Actions to run migrations
For this example, we’ve prepared an example repository where migrations can be written in SQL and will be applied by a GitHub Action that runs when a branch is merged into main:
👉 Example repo: neon-twin-sql-migrations
Manual SQL Migrations GitHub Action
This Action is triggered when a PR created against the main branch is closed, and the merged status is true.
The connection string for the database to apply the changes has been stored as a GitHub secret and named PROD_DATABASE_URL.
name: Migrate to prod (sql)<br><br>on:<br> pull_request:<br> types: [closed]<br> branches:<br> - main<br><br>env:<br> PROD_DATABASE_URL: ${{ secrets.PROD_DATABASE_URL }} # Production or primary database<br> PG_VERSION: '16'<br><br>jobs:<br> pr-merged:<br> runs-on: ubuntu-latest<br> if: github.event.pull_request.merged == true # Ensure the PR was merged<br><br> steps:<br> - name: Install PostgreSQL<br> run: |<br> sudo apt update<br> yes '' | sudo /usr/share/postgresql-common/pgdg/apt.postgresql.org.sh<br> sudo apt install -y postgresql-${{ env.PG_VERSION }}<br><br> - name: Checkout repository<br> uses: actions/checkout@v4<br> with:<br> fetch-depth: 0<br><br> - name: Get changed files<br> run: |<br> git diff --name-only -r HEAD^1 HEAD > migration_files.txt<br> echo "Changed files:"<br> cat migration_files.txt<br><br> - name: Apply migrations<br> run: |<br> while IFS= read -r file; do<br> if [ ! -f "$file" ]; then<br> echo "$file does not exist"<br> continue<br> fi<br><br> if [[ "$file" != *.sql ]]; then<br> echo "$file is not a SQL file"<br> continue<br> fi<br><br> echo "Processing $file"<br> if ! /usr/lib/postgresql/${{ env.PG_VERSION }}/bin/psql "${{ env.PROD_DATABASE_URL }}" < "$file"; then<br> echo "Error applying $file"<br> exit 1<br> fi<br> done < migration_files.txtThere are a few key steps in this Action, so let’s explain what each one does:
- Install PostgreSQL: This step installs Postgres in the GitHub Action’s environment. In the final step, psql will be used to apply the migration changes.
- Checkout repository: This step allows the Action to read files from the repository.
- Get changed files: This step uses standard git commands to determine which files have changed between the PR branch and the main branch. The diff will be a list of filenames that have changed, saved in a temporary .txt file named migration_files.txt in the Action’s workspace.
- Apply migrations: This step iterates through each file listed in migration_files.txt. The while loop first verifies if there are any filenames in migration_files.txt and if they have a .sql extension. psql is then used to apply the changes from the migration file(s) and update the production database accordingly.
SQL Migration repository setup
Within our repository, we have a migrations directory that contains the .sql files. These files are dated and describe the changes that are being applied, for example:
|-- .github<br> |-- workflows<br> |-- migrate-to-prod-sql.yml<br>|-- migrations<br> |-- 2024<br> |-- 08<br> |-- 08-01-2024-add-flag-to-users.sqlHere’s an example of a .sql file that contains the changes we wish to make:
BEGIN;<br><br>ALTER TABLE users<br>ADD COLUMN flag VARCHAR(255);<br><br>COMMIT;Once you’ve created a new migrations file, commit the changes and create a new PR ready to be merged into the main branch of your repo:
When the PR is reviewed, approved, and merged, a new job will be triggered, running the GitHub Action to apply the changes to the production database:
By inspecting the steps of the job, you can see the name(s) of the migration files that have been picked up by the diff.
When the job completes successfully, you should see the changes applied to your production database.
In our case, using psql, we can run \d users to see the schema for our users table, which shows the new flag column has been added:
| Column | Column | Collation |<br>| ---------- | ---------------------- | --------- |<br>| id | integer | not null |<br>| first_name | character varying(255) | not null |<br>| last_name | character varying(255) | not null |<br>| email | character varying(255) | not null |<br>| country | character varying(255) | not null |<br>| flag | character varying(255) | |Method 2: Using Prisma with GitHub Actions to run migrations
For this example we’ve prepared an example repository where migrations are managed by Prisma and applied by a GitHub Action that runs when a branch is merged into main.
👉 Example repo: neon-twin-prisma-migrations
Prisma Migrations GitHub Action
This Action runs when a PR created against the main branch, has been closed, and the merged status is true.
The connection string for the database to apply the changes to has been stored as a GitHub secret and has been named PROD_DATABASE_URL.
To use Prisma to handle database migrations we suggest you take a look at the following pages from the Prisma documentation.
name: Migrate to prod (prisma)<br><br>on:<br> pull_request:<br> types: [closed]<br> branches:<br> - main<br><br>env:<br> PROD_DATABASE_URL: ${{ secrets.PROD_DATABASE_URL }} # Production or primary database<br> PG_VERSION: '16'<br><br>jobs:<br> pr-merged:<br> runs-on: ubuntu-latest<br> if: github.event.pull_request.merged == true # Ensure the PR was merged<br><br> steps:<br> - name: Checkout repository<br> uses: actions/checkout@v4<br><br> - name: Run Prisma Migrate<br> run: |<br> npx prisma migrate deploy<br>This Action is significantly simpler than the SQL migration Action because Prisma is handling all of the changes that would have been created using, e.g:
npx prisma migrate dev --create-only --name name-of-migrationCheckout repository
This step allows the Action to read files from the repository.
Run Prisma migrate
If you’ve created a migration using the above code snippet, prisma migrate deploy will apply the migrations to your production database.
Prisma Migration repository setup
Within our repository we have the standard Prisma migrations directory where Prisma creates the migration files for changes that are to be applied to the production database.
|-- .github<br> |-- workflows<br> |-- migrate-to-prod-prisma.yml<br>|-- prisma<br> |-- migrations<br> |-- 0_init<br> |-- migration.sql<br> |-- 20240802104019_alter_flag_varchar<br> |-- migration.sqlHere’s an example of the changes we made.
datasource db {<br> provider = "postgresql"<br> url = env("PROD_DATABASE_URL")<br>}<br><br>model migrations {<br> migration_id Int @id @default(autoincrement())<br> migration_name String @db.VarChar(255)<br> applied_at DateTime @default(now()) @db.Timestamp(6)<br> status String @db.VarChar(50)<br> environment String @db.VarChar(50)<br>}<br><br>model users {<br> id Int @id @default(autoincrement())<br> first_name String @db.VarChar(255)<br> last_name String @db.VarChar(255)<br> email String @unique @db.VarChar(255)<br> country String @db.VarChar(255)<br> flag String? @db.VarChar(255) <br> flag String? @db.VarChar(55) // [!code ++]<br>}Once you’ve made the necessary changes, commit them and create a new PR ready to be merged into the main branch of your repo.
When the PR is reviewed/approved and merged, a new job will be started which runs the GitHub Action and applies the changes to the production database.
By inspecting the steps of the job you can see the name(s) of the migration files that will be applied to production.
When the job completes successfully you should see the changes that have been applied to your production database.
In our case, using psql, we can run \d users to see the schema for our users table which shows the flag varying character length has been updated.
| Column | Column | Collation |<br>| ---------- | ---------------------- | --------- |<br>| id | integer | not null |<br>| first_name | character varying(255) | not null |<br>| last_name | character varying(255) | not null |<br>| email | character varying(255) | not null |<br>| country | character varying(255) | not null |<br>| flag | character varying(255) | |<br>| flag | character varying(55) | | # [!code ++]Syncing Production with Neon Twin
The final piece of this puzzle is to re-synchronize your production database with your Neon Twin. In a previous post we explained how to perform a dump/restore using a scheduled GitHub Action, for this workflow we’ll use a similar approach but rather than the dump/restore running on a schedule, it’ll run after production migrations have been applied.
For either of the above Actions you could add the following which will perform a fresh dump/restore from your production database back to your Neon Twin.
name: Migrate to prod (...)<br><br>on:<br> pull_request:<br> types: [closed]<br> branches:<br> - main<br><br>env:<br> PROD_DATABASE_URL: ${{ secrets.PROD_DATABASE_URL }} # Production or primary database<br> DEV_DATABASE_URL: ${{ secrets.DEV_DATABASE_URL }} # Development database<br> PG_VERSION: '16'<br><br>jobs:<br> pr-merged:<br> runs-on: ubuntu-latest<br> if: github.event.pull_request.merged == true # Ensure the PR was merged<br><br> steps: ...<br><br> dump-and-restore: # [!code ++]<br> runs-on: ubuntu-latest # [!code ++]<br><br> steps: # [!code ++]<br> - name: Install PostgreSQL # [!code ++]<br> run: | # [!code ++]<br> sudo apt update # [!code ++]<br> yes '' | sudo /usr/share/postgresql-common/pgdg/apt.postgresql.org.sh # [!code ++]<br> sudo apt install -y postgresql-${{ env.PG_VERSION }} # [!code ++]<br><br> - name: Dump from RDS and Restore to Neon # [!code ++]<br> run: | # [!code ++]<br> /usr/lib/postgresql/${{ env.PG_VERSION }}/bin/pg_dump "${{ env.PROD_DATABASE_URL }}" -Fc -f "${{ github.workspace }}/prod-dump-file.dump" # [!code ++]<br> /usr/lib/postgresql/${{ env.PG_VERSION }}/bin/pg_restore -d "${{ env.DEV_DATABASE_URL }}" --clean --no-owner --no-acl --if-exists "${{ github.workspace }}/prod-dump-file.dump" # [!code ++]Finished
And that just about wraps things up. This completes our series on how to use Neon for development. If you missed the first three articles, here are the links again.


